Installation
The Custom Field Groups module can be installed in your Prestashop environment using two different methods: through the back office and via manual installation.
Back office installation
-
Access the back office: Log in to your Prestashop back office as an administrator.
-
Navigate to the modules section: From the main menu, click on
ModulesandModule Manager. -
Add New Module: Click on
Upload a modulelocated at the top right of the page. -
Upload the Module: Select the module file (.zip) that you previously downloaded to your computer.
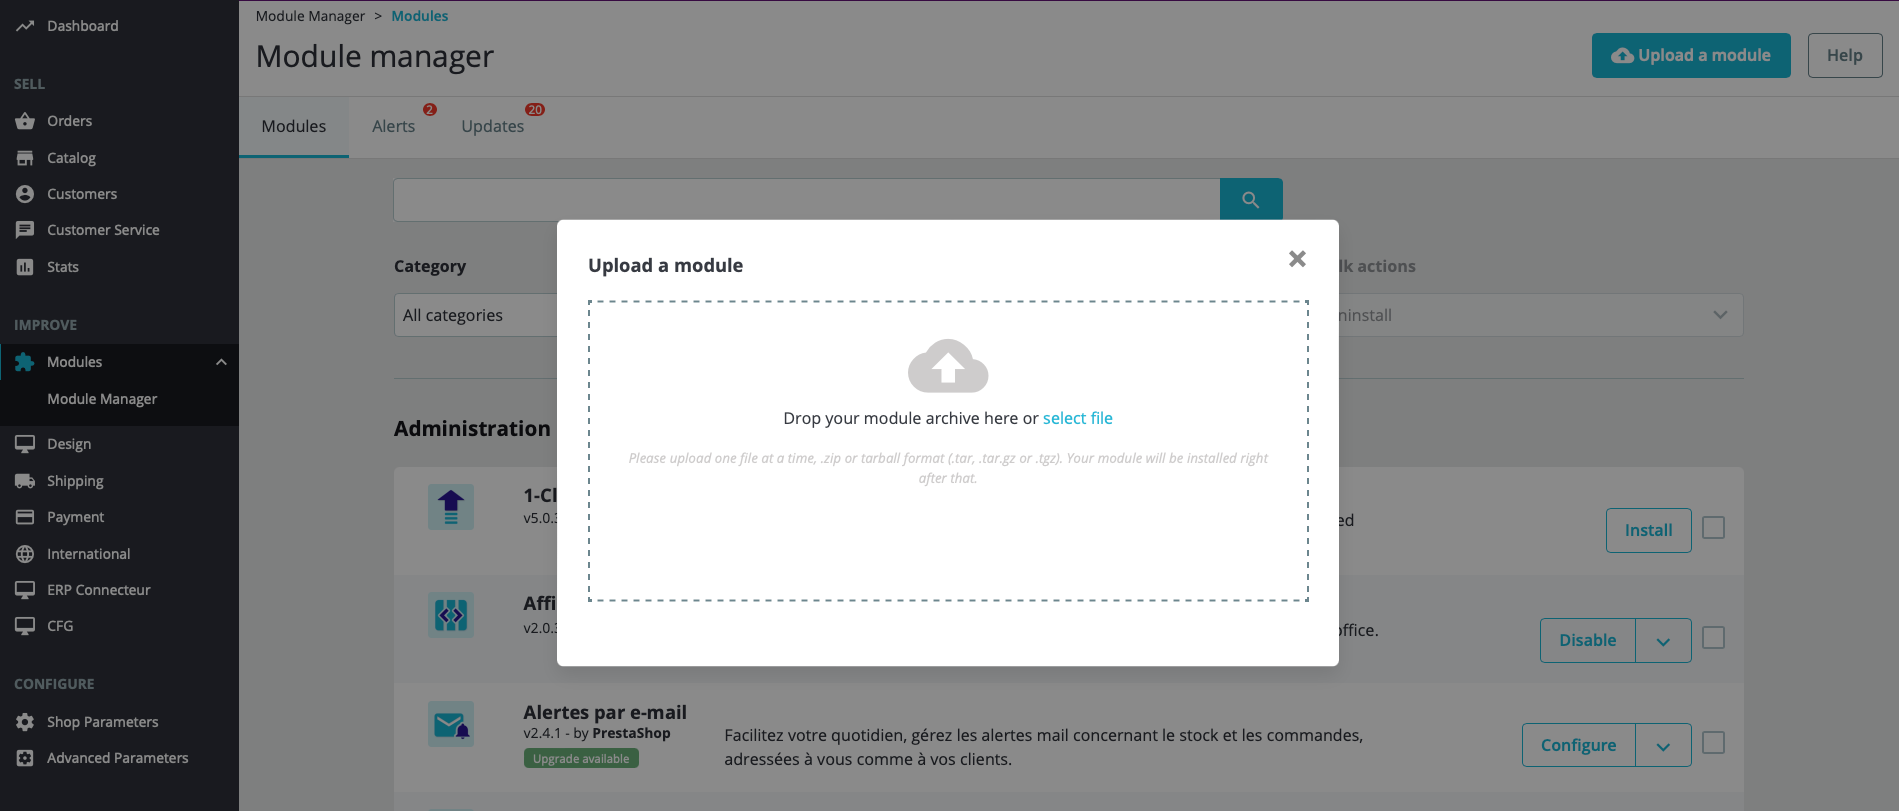
- If the installation is successful, you will see a confirmation message. If you encounter any issues with the back office installation, you can proceed with manual installation.
Manual installation
To manually install the module:
-
Download the module: Obtain the module from the official Prestashop marketplace.
-
Access the modules directory:
- If your site is online, connect to your server via FTP. For local websites, use your local file explorer.
- Navigate to the Prestashop
/modules/directory.
-
Transfer the module:
- Extract the module directory from the ZIP archive into the
/modules/directory of your Prestashop installation. - Ensure the main file path is
/modules/customfieldgroups/customfieldgroups.php.
- Extract the module directory from the ZIP archive into the
-
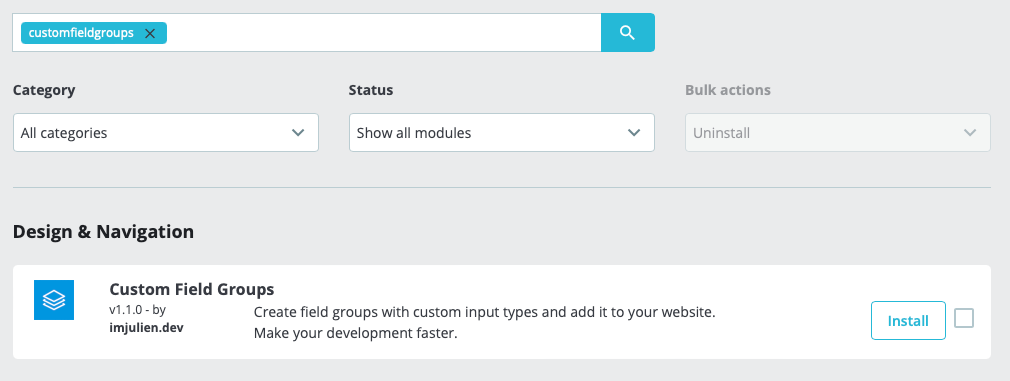
Installation and Activation:
- Return to your Prestashop back office.
- Navigate to
ModulesandModule Managerfrom the main menu. - Locate the
Custom Field Groupsmodule. - Click the
Installbutton in the module row.
If you encounter any issues during installation, please feel free to contact the support via Prestashop Addons website for assistance.